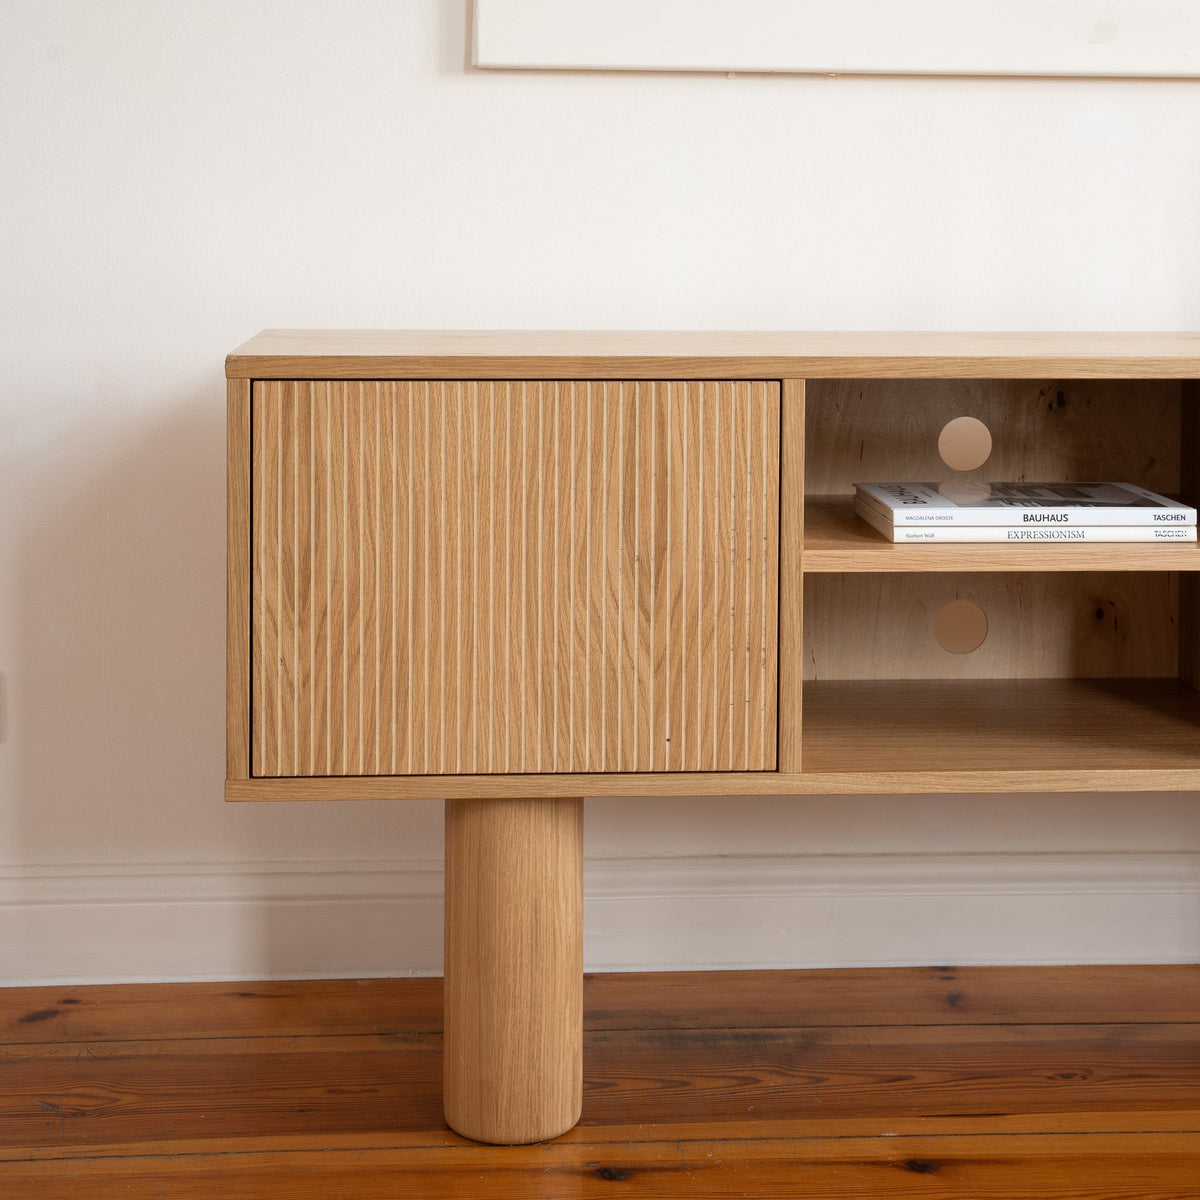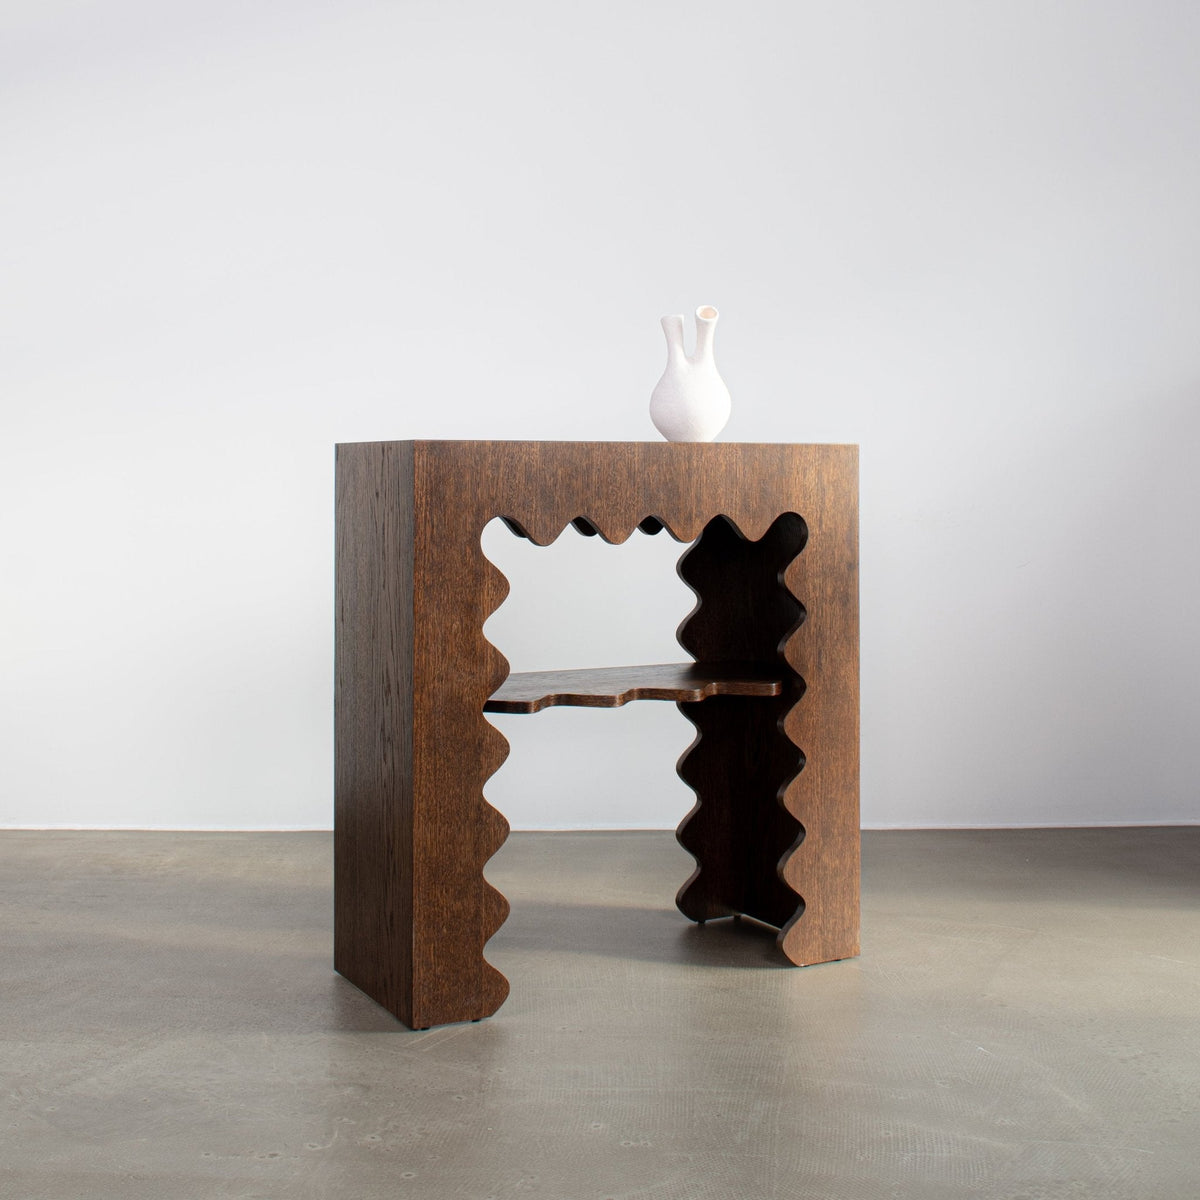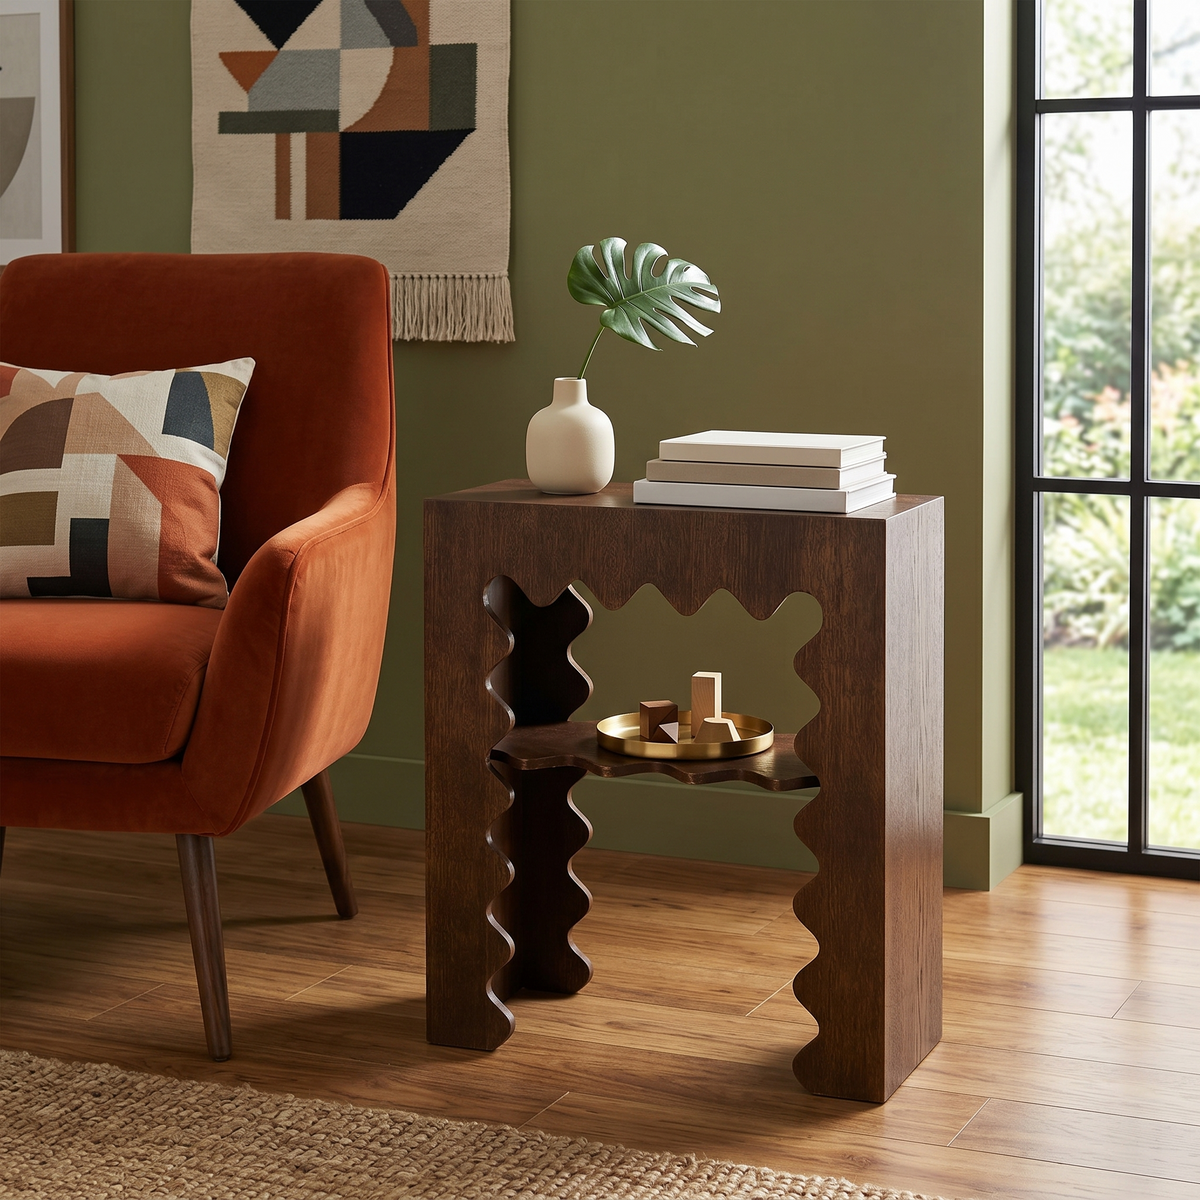
The upcycling trend and the return of 1960s and 1970s design have turned cellars, attics and flea markets into real treasure troves. Iconic chairs by Polish designers such as Rajmund Halas and Jozef Chierowski, geometric chests of drawers and TV cabinets from the Polish mid-century (PRL) era – pieces that ended up on the scrap heap only a decade ago – now grace the most stylish homes. Restoring furniture like this is not only a brilliant way to create a one-of-a-kind interior, but also a choice that is kinder to the environment.
Wondering how to give old furniture a vintage makeover so that it looks stunning and serves you for decades to come? Here is a detailed step-by-step guide that will help you transform an old chest of drawers or chair yourself and give it a second life.
Why Polish Mid-Century Furniture Is Perfect for Restoration
Today's mass production has accustomed us to furniture made of cheap particleboard, which often has a very short lifespan. Pieces from the 1960s and 1970s were built on entirely different principles. Designers and craftsmen of the time put huge emphasis on solidity. Chair frames and the legs of chests of drawers were made of solid wood (usually beech or oak), and cabinet carcasses were covered with fine natural veneers.
As a result, even if a piece looks battered after years in a damp cellar – with a scratched lacquer finish and worn upholstery – its core usually remains in excellent condition. All you need to do is remove the old, damaged protective layers and finish the wood properly to bring back its natural lustre and deep texture. Restoration is a great lesson in patience and respect for traditional joinery.
Step 1: Assess the Condition and Prepare Your Tools
Before you start, inspect your piece carefully. Check that it is structurally sound: does the chair wobble, do the drawers slide smoothly, and are there any signs of woodworm (small, round holes)? If the frame is loose, you will need to take the piece apart into individual components, clean the old glue off the tenons and re-glue it using a professional wood glue.
- For the makeover, get the following set of tools ready:
- Sandpaper in various grits (from 80 to 240) or an orbital sander.
- A cabinet scraper or heat gun for removing thick layers of lacquer.
- Wood filler in a colour that matches the species you are restoring.
- Brushes, rollers and your chosen finishing products (oil, wax or lacquer).
- A dust mask and safety glasses – sanding produces a lot of dust.
Step 2: Strip the Old Lacquer
This is the most labour-intensive and demanding stage of restoration. Furniture from the Polish mid-century era was very often coated with a thick layer of high-gloss polyester lacquer. Removing it with sandpaper alone is extremely difficult, because the dust immediately clogs the sanding disc.
The best method is to use an electric heat gun, which warms the lacquer until it starts to bubble and soften. You can then gently scrape it off with a putty knife or cabinet scraper. Work carefully so as not to scorch the wood or damage the thin layer of natural veneer underneath. An alternative is a dedicated gel paint stripper: apply it to the furniture and, after 10–20 minutes, lift off the softened lacquer with a putty knife. Once the main layer is gone, sand the entire surface thoroughly – starting with 120 grit, moving gradually to 180 and finishing with a smoothing 240.
Step 3: Repair Damage and Do the Final Sanding
Once the old finish has been thoroughly removed, every imperfection will come to light: deep scratches, chipped veneer or cracks. Fill all of these with a dedicated wood filler. Apply it with a small spatula, bearing in mind that it shrinks slightly as it dries, so it is worth overfilling a little.
When the filler is completely dry, sand off the excess so it is flush with the rest of the wood. Before applying the new finish, vacuum the whole piece thoroughly and wipe it with a cloth dampened with white spirit to degrease the surface.
Step 4: Choose a Finish – How to Give It a Modern Look
The finish you choose determines the final look of your furniture. You have several options:
- Oiling: Oil penetrates deep into the wood, bringing out its natural grain and giving a matt, velvety finish. It is the most eco-friendly option and suits vintage furniture perfectly.
- Lacquering: Provides the most durable protection against moisture and scratches. You can choose a matt or satin lacquer to avoid the artificial high-gloss look typical of that era.
- Painting with wood accents: A very fashionable approach is to paint part of the piece (for example the drawers or legs) in a pastel colour, leaving the rest of the carcass in natural wood.
If you are looking for professional inspiration or prefer ready-made, expertly crafted pieces, see what contemporary wooden vintage-style furniture looks like. New vintage furniture, such as tall retro chests of drawers or TV units, is made with respect for traditional joinery methods, offering perfect condition and the durability of natural wood for generations.


FAQ
How do I give old Polish mid-century furniture a vintage makeover?
Thoroughly remove the old, damaged lacquer with a heat gun, scraper or chemical stripper, then sand the surface back to bare wood. After repairing any damage with wood filler, finish the piece with natural oil, wax or matt lacquer to bring out the grain.
What is the best way to remove thick high-gloss lacquer from an old chest of drawers?
The best results come from combining an electric heat gun with a putty knife or cabinet scraper. Heat softens the lacquer so it comes away easily. You can also use a dedicated gel stripper designed for removing old paint and varnish.
Is oiling better than lacquering when restoring furniture?
Oiling gives a very natural, matt finish that beautifully shows off the wood's texture and is easy to touch up locally. Lacquering, on the other hand, creates a harder protective barrier that resists scratches and water – recommended for heavily used furniture such as table tops.
How do I repair damaged veneer on old furniture?
Small chips and scratches can be filled with wood filler in a matching colour. For larger areas of missing veneer, it is best to cut out the damaged section in a regular shape and glue in a patch cut from new veneer with a similar grain pattern.
How long does it take to restore a mid-century chair yourself?
Restoring a simple beech chair (for example stripping the lacquer from the legs and reupholstering the seat) usually takes around 6–10 hours of work spread over 2–3 days, because the glue and finishing products need time to dry.